
The structure is fixed. The organiser erects the walls, the fascia and the height before you arrive, and none of it is yours to move. Everything that separates your booth from the twenty others in the same aisle happens inside those constraints — in the layout, the graphics and the lighting.
This page is about how we make those decisions: why the stand number matters more than the square metres, what makes a graphic readable at walking pace, and what we need from you to produce a 3D visual. For what a shell scheme booth is, what it includes and what it costs, see shell scheme booths in Dubai.
✔ Free 3D Concept | ✔ Organiser Rules Checked | ✔ In-House Print | ✔ Venue Install
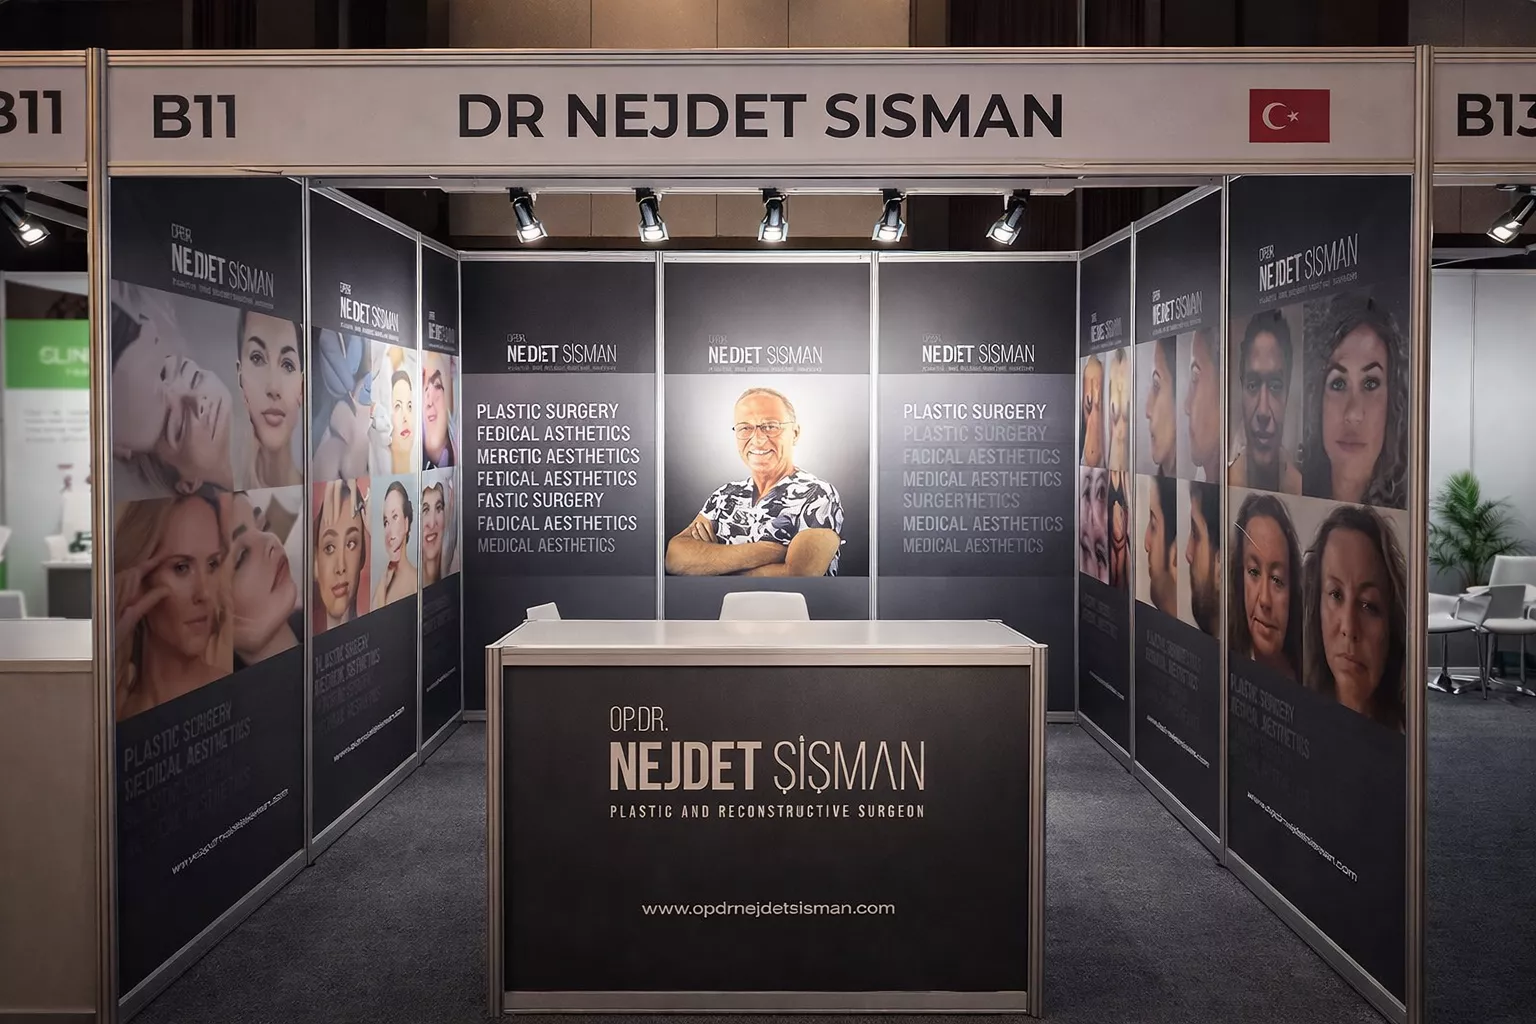
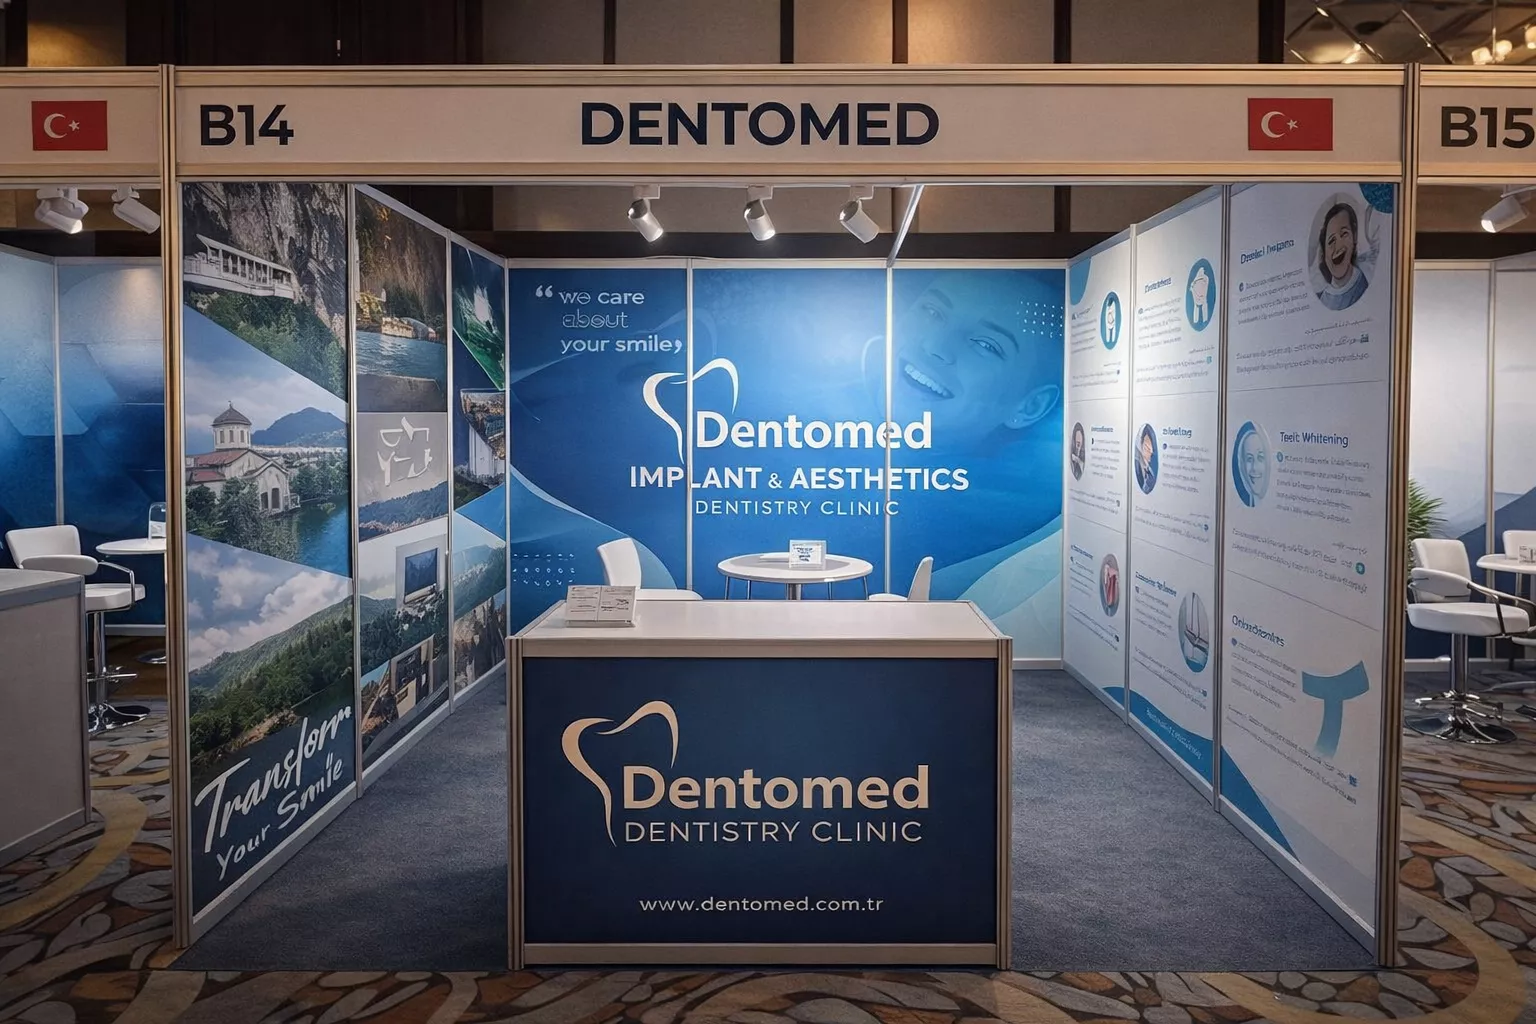
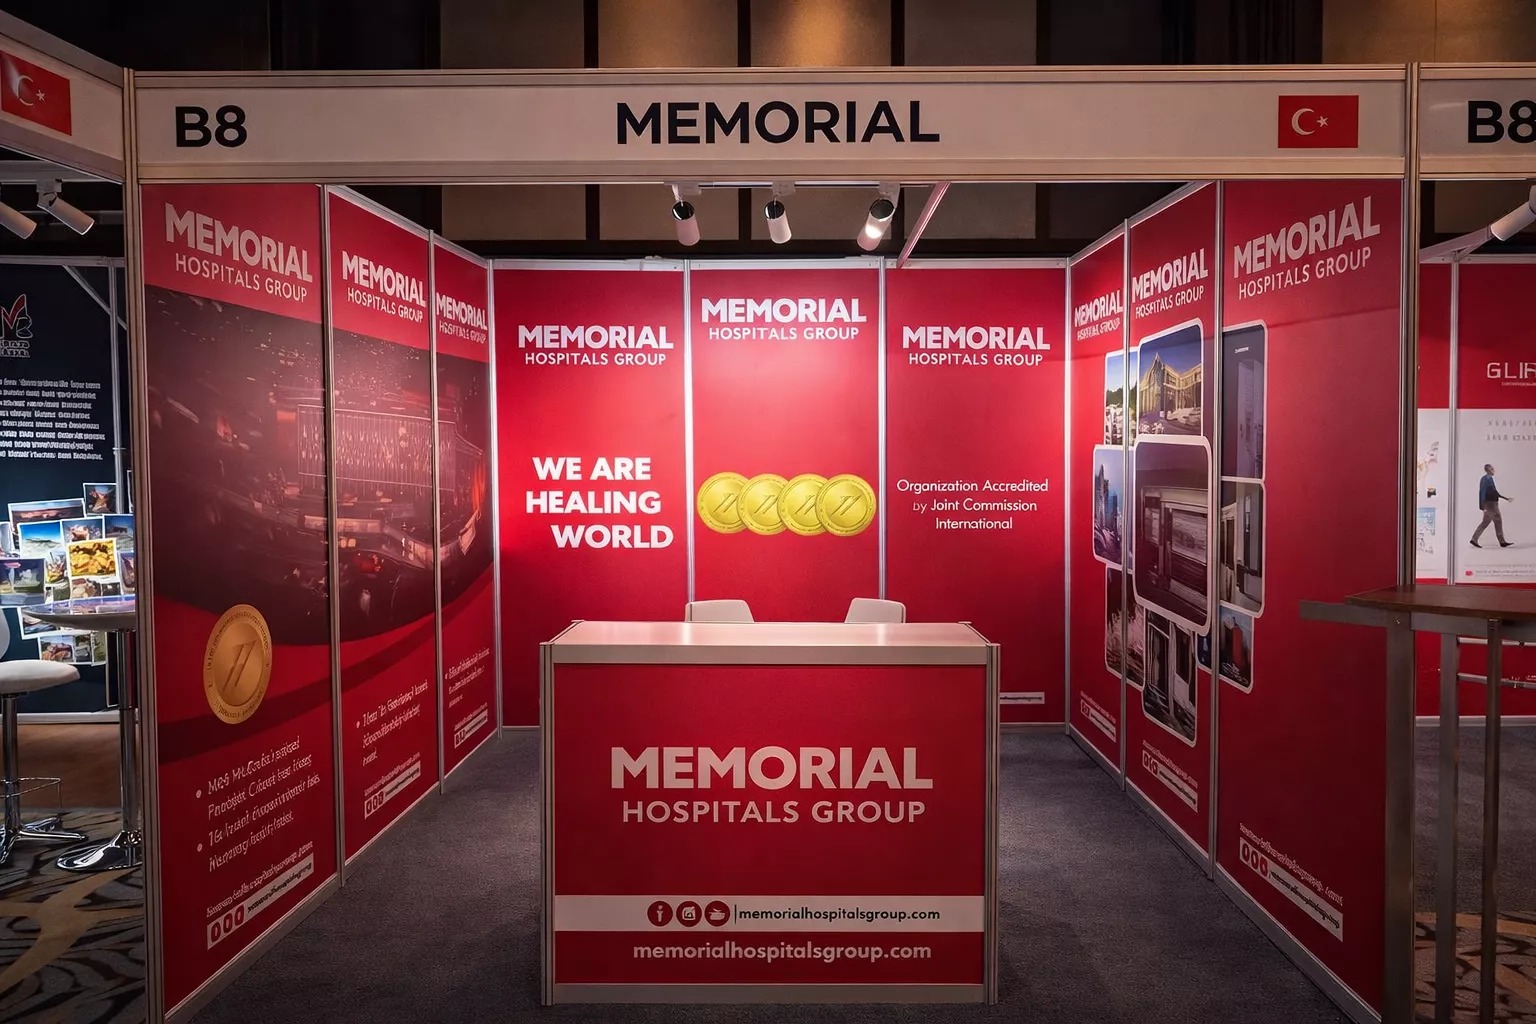
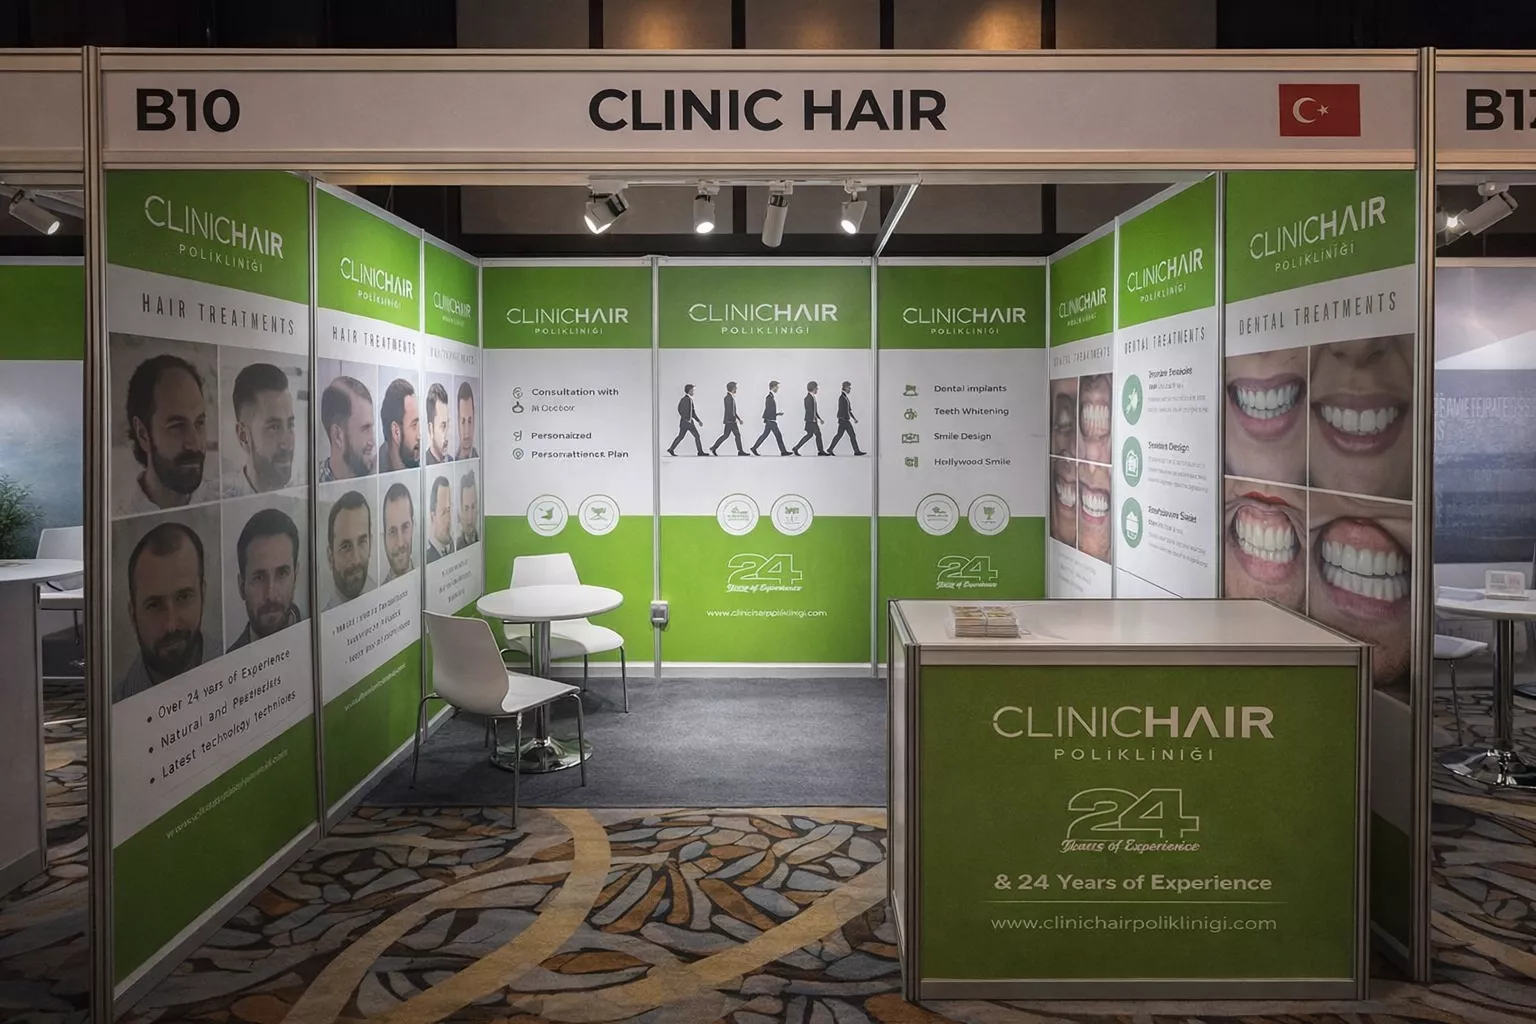
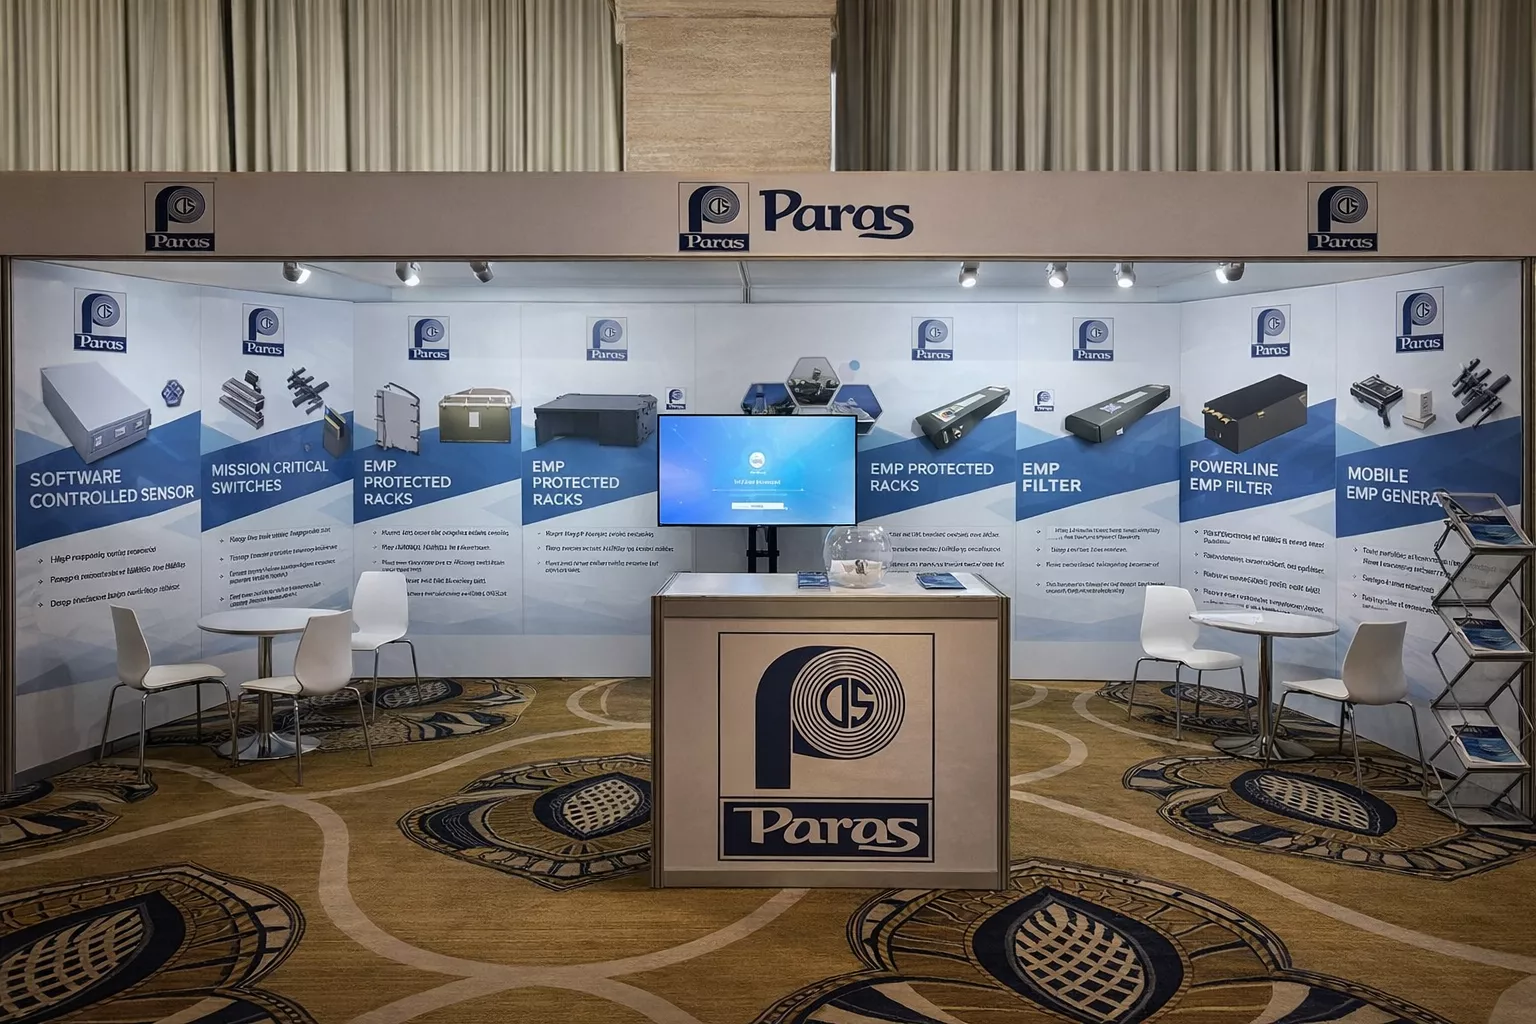
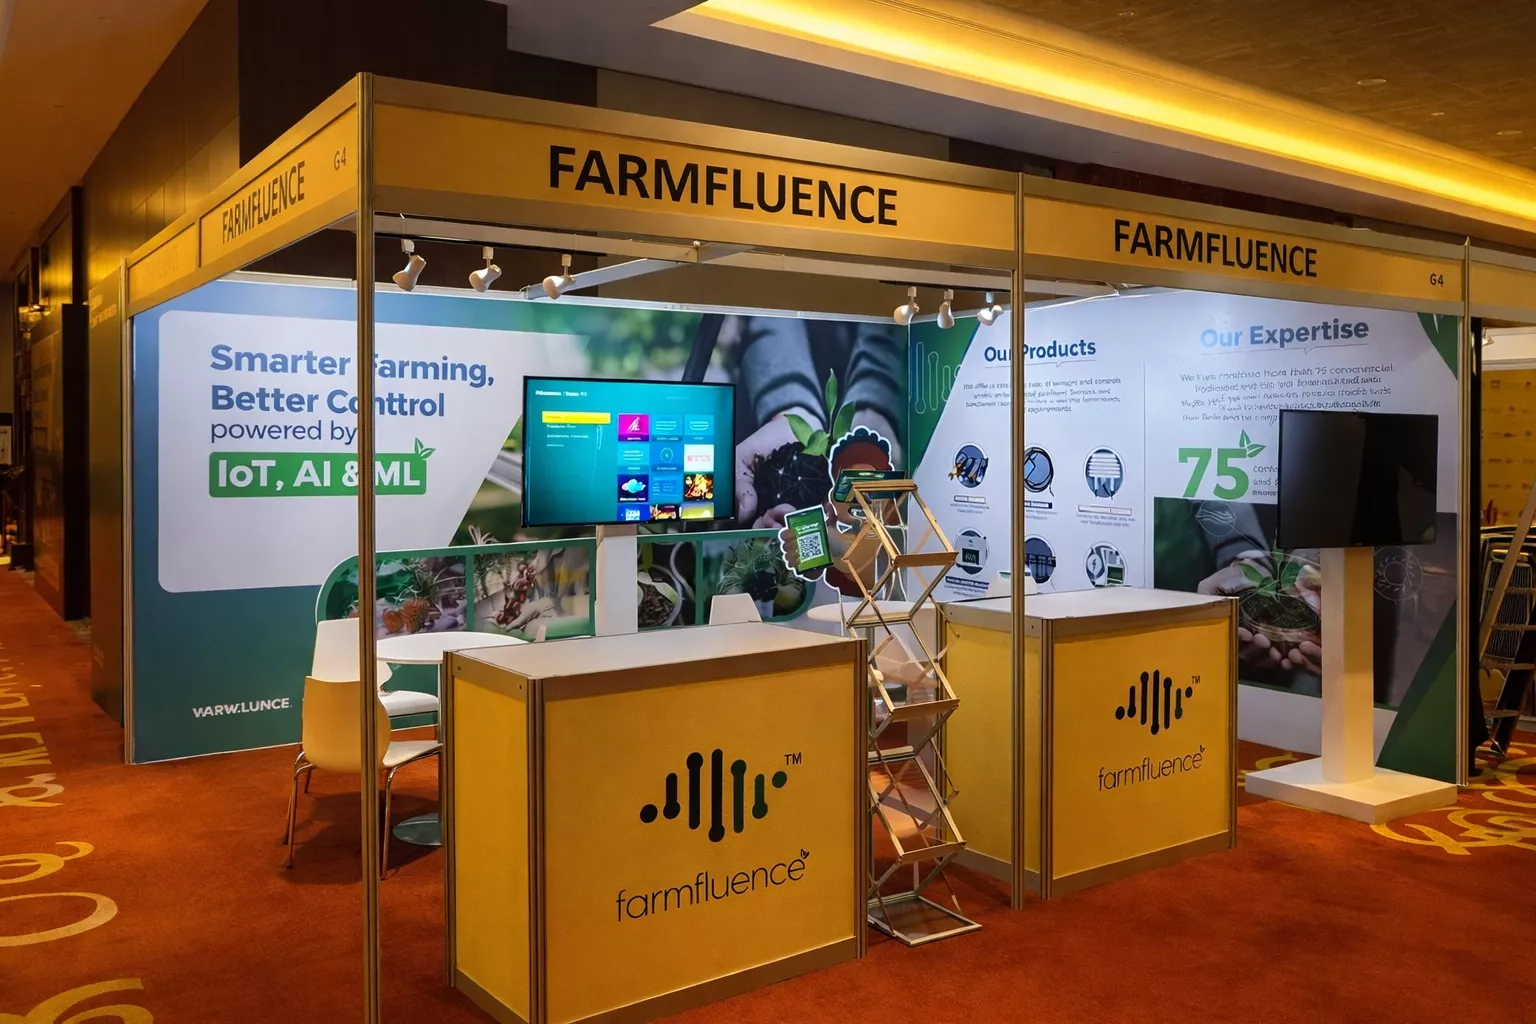
Shell scheme design is a constrained problem, and that is what makes it interesting. The structure is fixed: the organiser supplies the walls, the fascia and the height, and you cannot move any of it. Everything that distinguishes your booth from the twenty others in the aisle happens within those constraints.
This page covers how we approach that: what drives the layout, what makes graphics work at walking pace, and what we need from you to produce a 3D visual. If you are looking for what a shell scheme booth is, what it includes or what it costs, that is on the shell scheme booths page.
Two booths of identical area behave completely differently depending on how many sides face an aisle. This is the first thing we check, and it is why we ask for your stand number rather than just the size.
All branding weight goes on the back wall. The design priority is keeping the front edge clear so people can step in — furniture placed across the opening turns the booth into a counter people talk across.
Branding has to read from two approach directions, which usually means the logo appears twice rather than once large. The corner stays open.
One wall only, so the counter and any vertical element carry the identity. Layout has to work from three directions at once.
Visitors read your wall from the aisle, in motion, from about two metres. That single fact drives most graphic decisions on a shell scheme booth.
A shell scheme back wall is several separate panels. Designing across them as a single continuous image, rather than as one poster per panel, is the biggest single improvement available and costs nothing extra to print.
A wall carrying five propositions communicates none of them. What you do, for whom, in as few words as will carry at distance. Detail belongs on literature and on screens.
Shell scheme lighting is usually a small fixed allocation aimed downward. Dark artwork in a booth lit for carpet disappears. We design knowing where the light will fall, and add fittings where it needs to fall elsewhere.
Fascia boards carry a character limit and are read at distance. What you do is often more useful there than your registered name.
Exhibition, venue, stand number and size, open sides, brand files, and what has to happen on the booth.
We read your exhibitor manual for permitted fixing methods, height limits, fascia rules and the electrical order deadline.
A 3D visual showing the booth from the aisle approach, with layout, graphics and fit-out. No charge, no commitment.
One or two rounds. We flag anything that changes production rather than absorbing it quietly.
Print-ready files prepared and checked at final print size. This is the date that governs the schedule.
Graphics printed in our own facility and installed at the venue by our crew inside the build-up window.
The fastest way to undo everything else. Half a metre of lockable cupboard fixes it.
Blocks the entrance and halves the usable floor. Move it to one side.
Print schedules are not flexible in the fortnight before a major show, when every contractor in the city is printing at once.
Nine square metres will not carry a range. One product, lit, at eye level does more.
Graphics designed for a method the organiser prohibits have to be remade on site, at cost, in the build window.
Send us your exhibition, venue, stand number and size and we will come back with a 3D visual of your booth and an itemised quote. The design costs nothing and carries no obligation.
You send the exhibition name, venue, stand number and size. We check the floor plan to see how many sides are open and read your exhibitor manual for the organiser's rules on fixing, height and fascia. You then get a 3D visual showing the booth from the aisle before anything is produced, at no cost.
Exhibition name and dates, venue, stand number and dimensions, your logo and brand files, and a sense of what has to happen on the booth - meetings, product display, demonstrations or literature handout. The stand number matters as much as the size, because it tells us how many sides are open.
Yes. We produce a 3D concept before any commitment and there is no charge for it.
One or two rounds is normal and is what we work to. We will tell you upfront if a change moves the design into different production territory rather than absorbing it silently.
Print-ready vector files or high-resolution raster artwork are ideal. If you only have web-resolution logos we will prepare artwork from your brand assets instead. The practical constraint is resolution at final print size, not file type.
That is most of the work. Fixing methods, maximum height, fascia modification and what may be suspended are all set by the organiser and vary by show and sometimes by hall. We design within those rules from the first sketch rather than discovering them at approval stage.
Yes, and the design differs meaningfully from an inline booth of the same area. A corner has two approach directions and needs branding that reads from both, and the corner itself should be left open rather than blocked.
As soon as your stand is confirmed. Design sign-off and final artwork are the two steps that determine everything downstream, and they are both yours rather than ours, so the earlier they are settled the more production time remains.
Orange Fairs provides complete exhibition stand and retail display solutions covering every stage from design and fabrication to final installation across Dubai and the UAE.